

Installing a light bar on your truck's MULTY® headache rack can greatly improve visibility while driving, especially during nighttime or in low-light conditions. In this blog post, we'll go over the steps involved in attaching a light bar to the MULTY headache rack, and some tips and tricks to help.
Step 1: Choose the right light bar
Before you start installing the light bar, you need to choose the right one for your truck and your needs. Consider the size of the current width your headache rack and the mounting options available, as well as the brightness and beam pattern of the light bar. There are different types of light bars available, such as LED or halogen, flood or spot, and single-row or double-row. Make sure to pick one that's going to fit within your MULTY® Headache Rack.
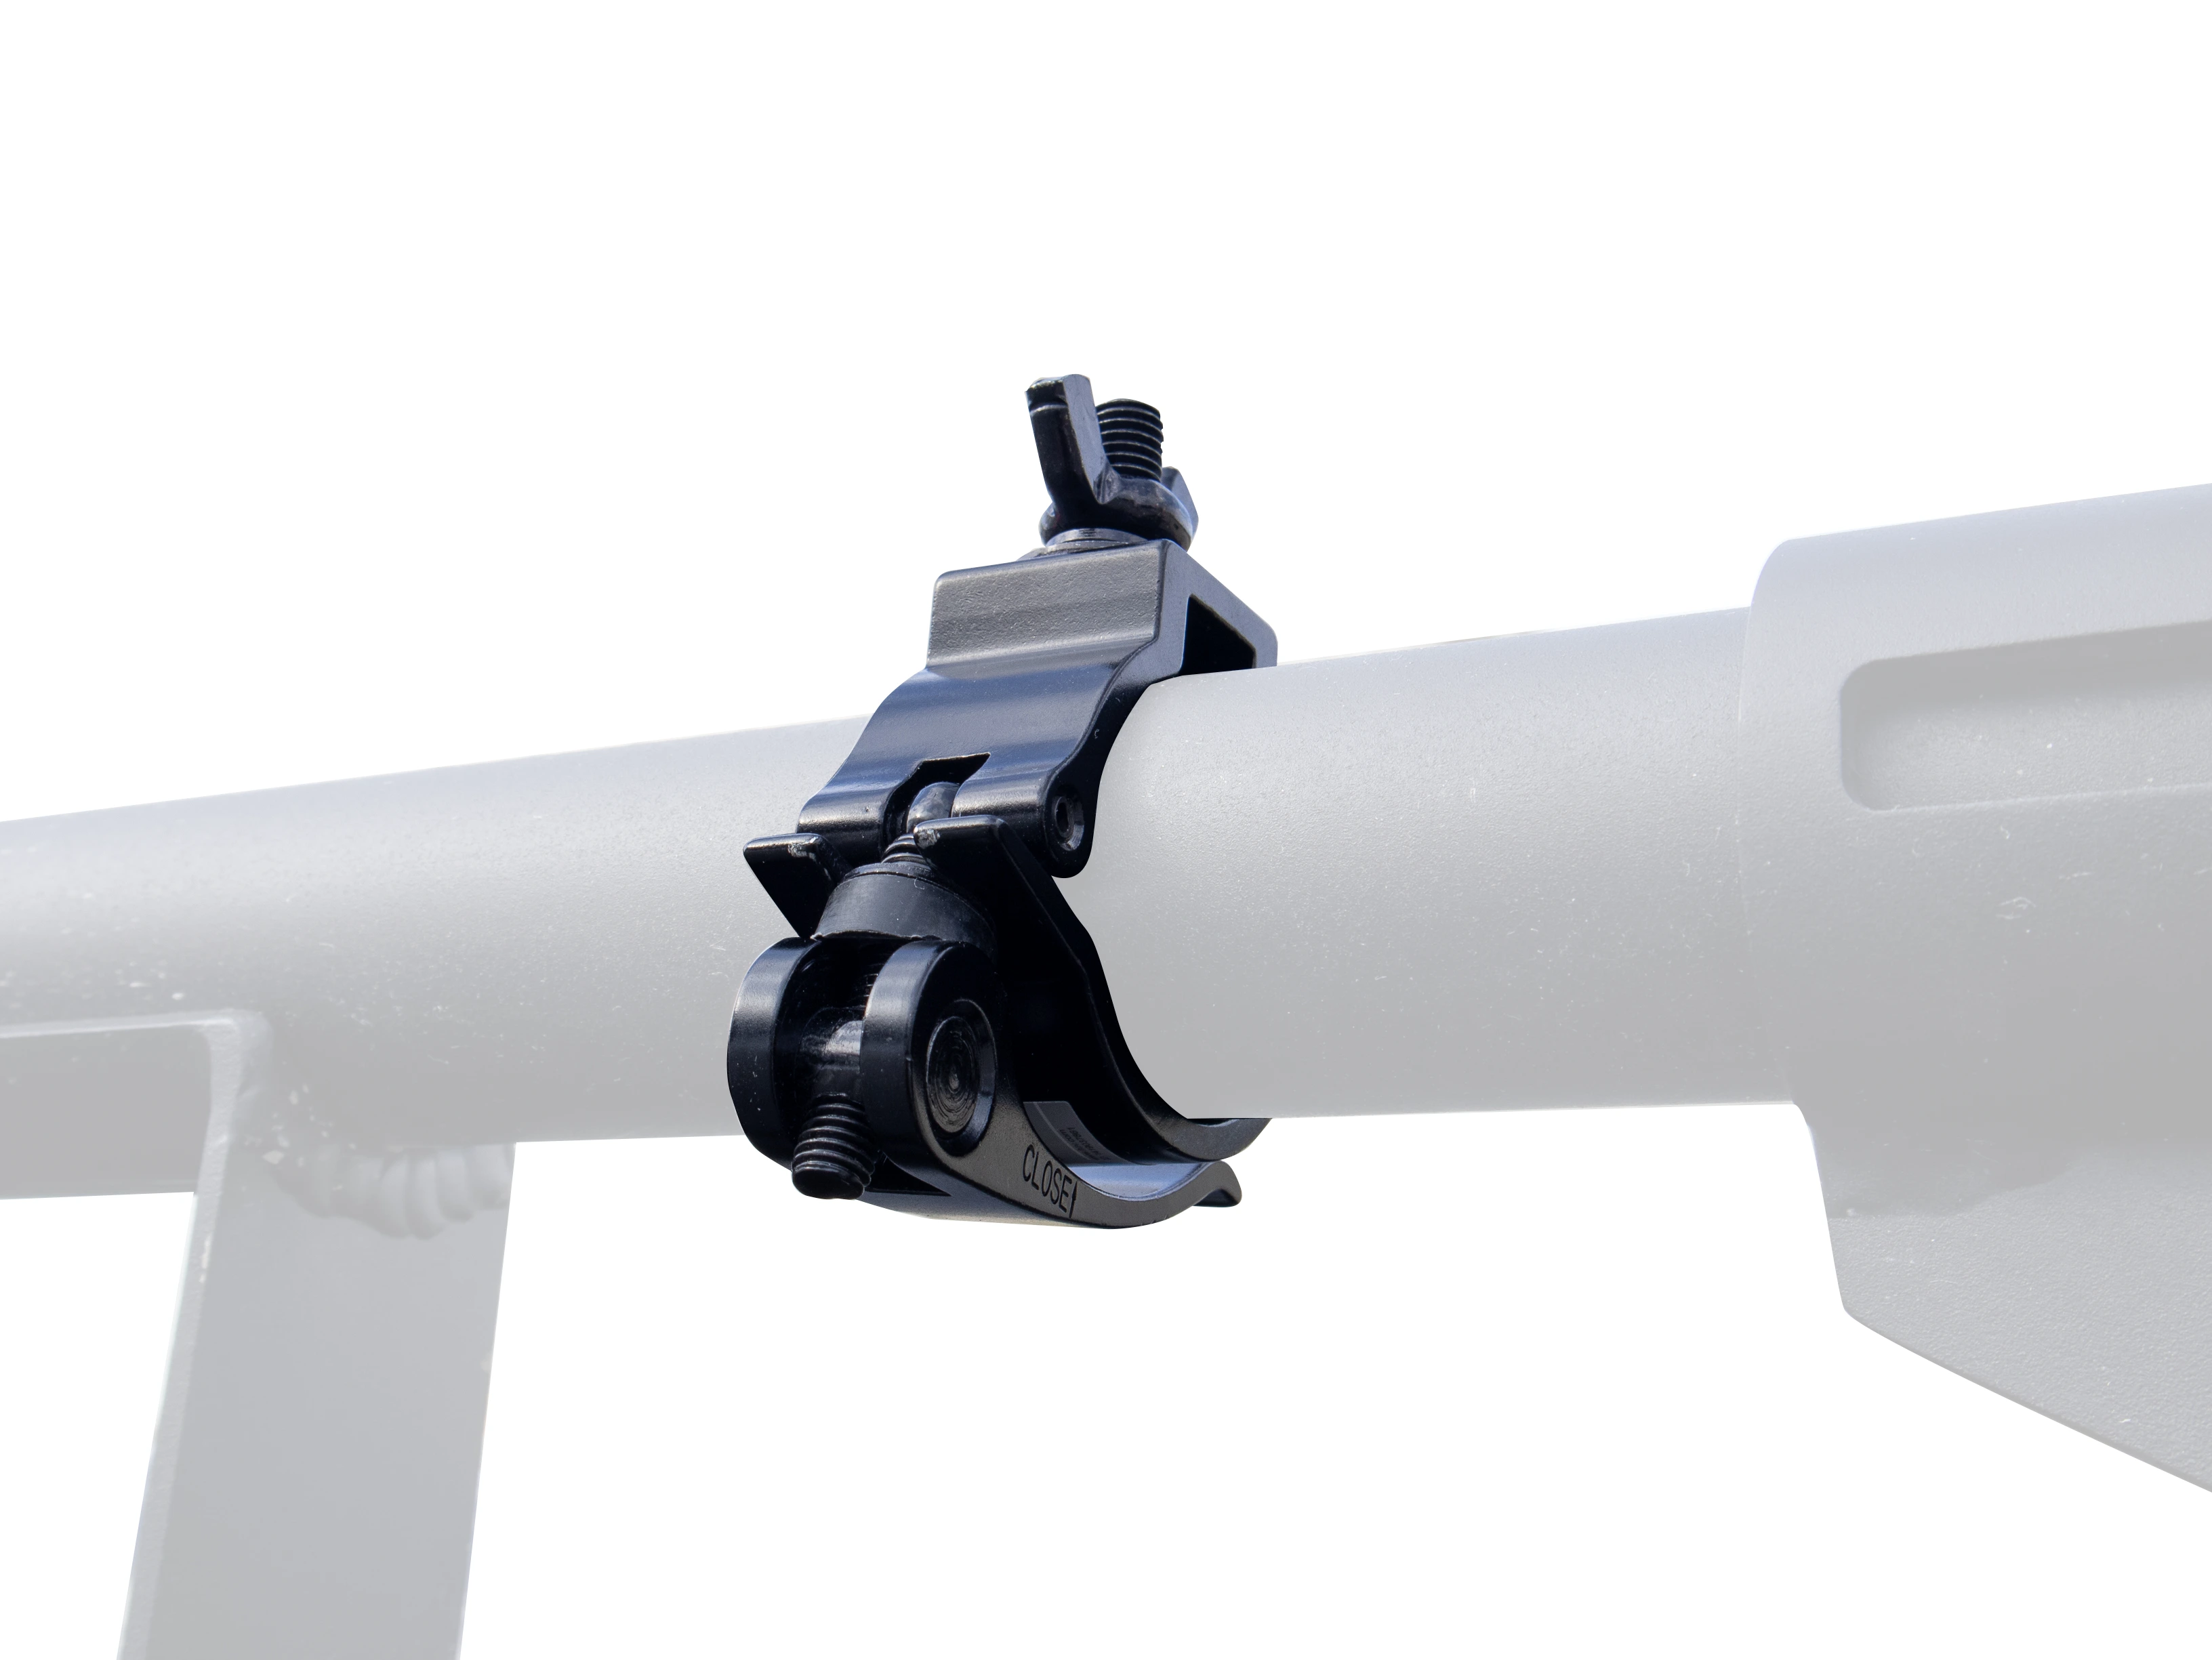
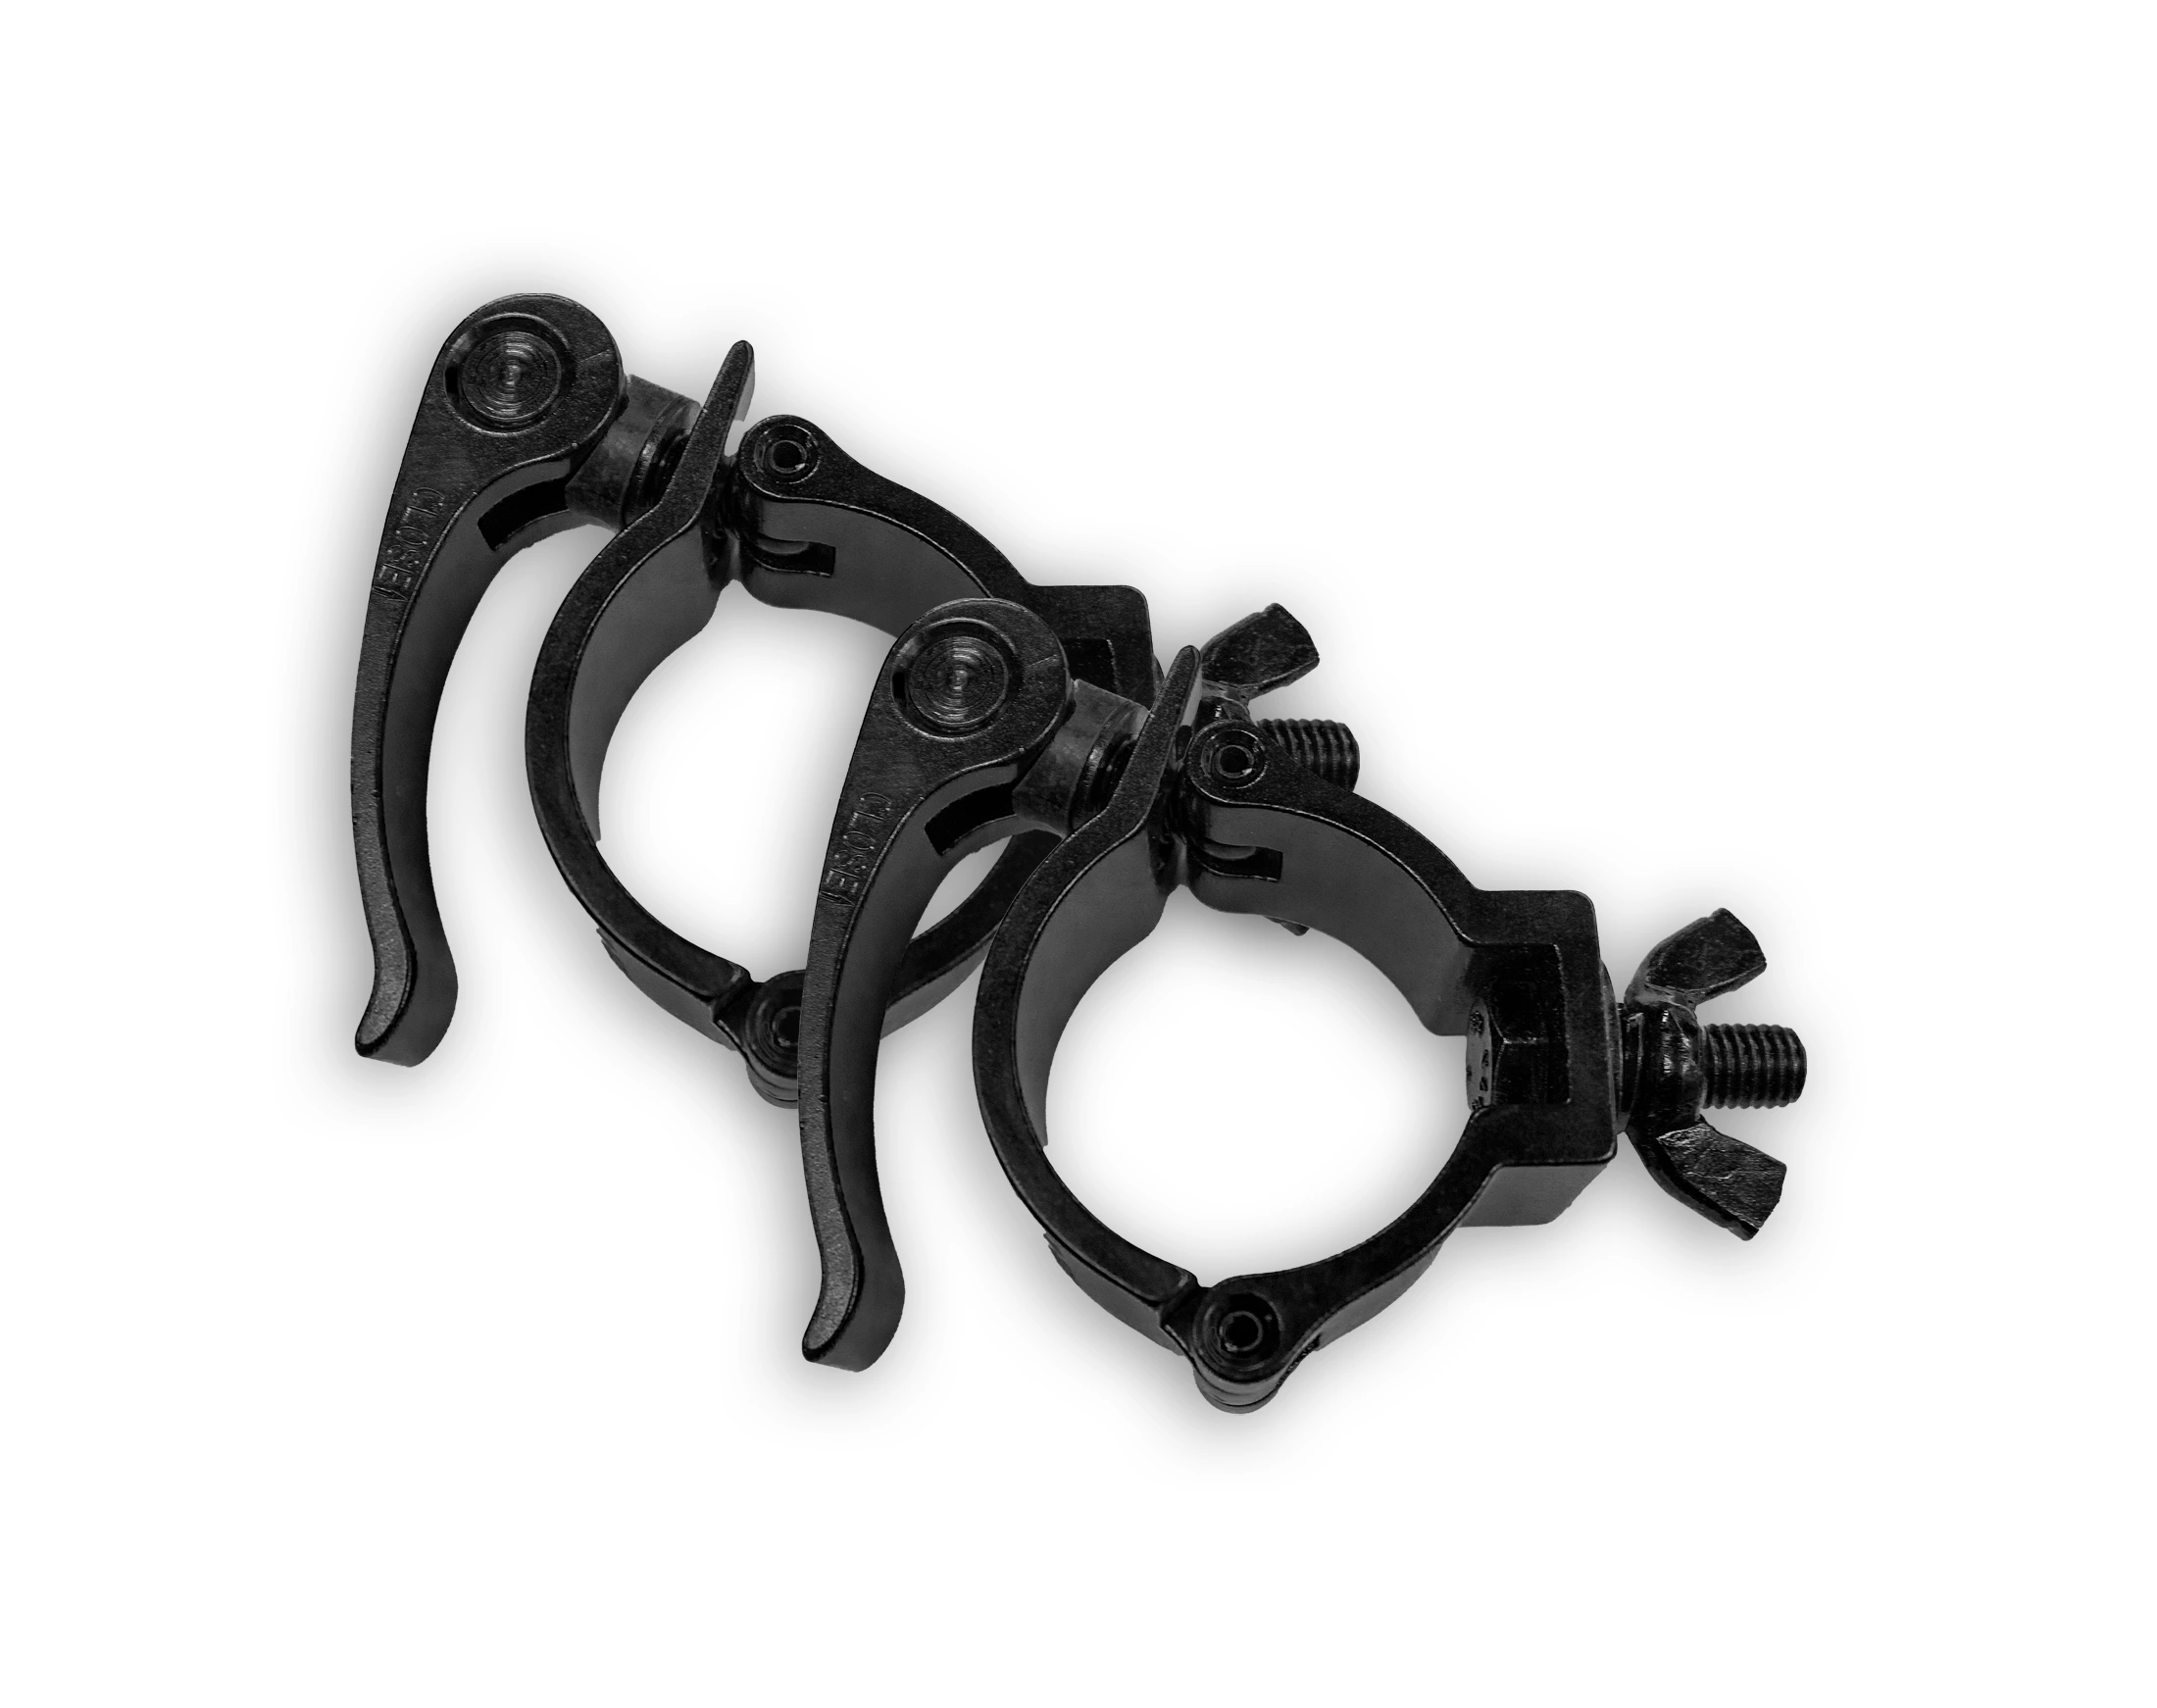
The MULTY® Universal Mounting Clamp is required to install most aftermarket light bars on your MULTY® Headache Rack.
They come in packs of two, and in large or small format. The large clamps attach to the top crossbar, as well as the uprights of the MULTY® Headache Rack, as well as the larger pipe on the MULTY® adjustable bed rails. The smaller clamps only fit on crossbars of the headache rack window guard insert. The clamps are very easy to use. Simply attach your light bar or other aftermarket accessory to the bolt end of the clamp, place the MULTY® Universal Mounting Clamp on your rack system where required, spin the lever of the clamp clockwise to tighten the grip, and close the lever tightly.
Step 2: Gather the necessary tools and materials
To install the light bar, you'll need some tools and materials. Here's a list of what you'll need:
Light bar
Mounting brackets and hardware

Step 4: Install your light bar's mounting brackets to the MULTY® universal mounting clamps.
Now it's time to attach the brackets that accompany your light bar onto the MULTY® Universal Mounting Clamps. Secure the brackets onto the bolt end of the clamps, using either the hardware provided with the clamps or the hardware that came with your light bar. Keep in mind that you may need to drill a hole on either the bracket or the clamp to ensure a proper fit. Your ultimate objective is to fasten the light bar bracket onto the MULTY® Universal Mounting Clamp in a secure manner.

Step 5: Secure the light bar and mounting clamps onto the crossbar of the MULTY® Headache Rack.
Position the open MULTY® Universal Mounting Clamp on top of the crossbar of the MULTY® Headache Rack and securely close the clamp. Rotate the lever of the clamp clockwise to tighten the grip, and then firmly shut the lever to fasten the clamp onto the crossbar. Ensure the clamp is tightened to the utmost extent, preventing any rotation or movement on the MULTY® Headache Rack.

In conclusion, attaching a light bar to the MULTY Headache Rack can be a relatively easy and rewarding DIY project, provided you have the right tools, materials, and instructions. A light bar can increase safety, visibility, and style to your truck, and it's an investment that will pay off in the long run. Just make sure to follow the manufacturer's guidelines and local regulations regarding the use of auxiliary lighting on vehicles.
How to avoid aftermarket accessory theft while using the MULTY® Universal mounting clamps.
Simple: Replace the levers with hex nuts.
Although it's impossible to guarantee complete theft prevention, there are measures you can take to deter it. While the quick-release handle of the MULTY® Universal Mounting Clamp makes it effortless for you to install or remove your aftermarket accessory, it also makes it equally easy for potential thieves to snatch it away.
By removing the lever of the MULTY® Universal Mounting Clamp and replacing it with a hex nut that can be tightened with a ratchet, you can effectively prevent unauthorized release of the handle and protect your accessory from being easily removed by anyone.
